
Cabbing / Technique guide
Cabbing Wheel Grit Sequences: Read the Manufacturer’s Setup
Understand the supplied wheel stages, why construction matters and how to keep a useful process record.
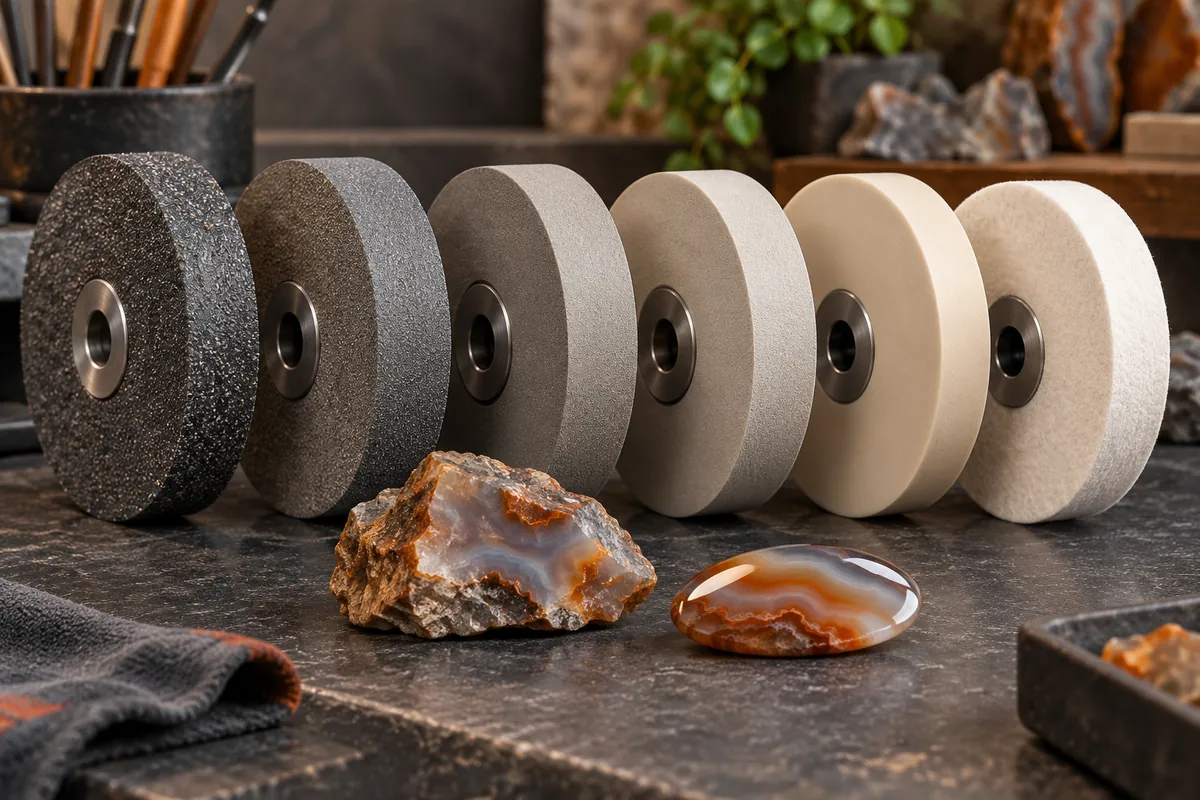
Research-based guide · We have not physically tested these products. How we research
Jump to a section
THE SHORT ANSWER
A cabbing-wheel grit sequence is a set of abrasive stages, not just an ascending list of numbers. Record the wheel construction and the surface needed before moving on. The manufacturer’s supplied sequence is a sensible documented reference for its system, not proof that every stone needs the same route.
| Stage | Listed grit | Construction / role |
|---|---|---|
| Initial wheel pair | 80 and 220 | Electroplated grinding wheels |
| Following wheel group | 280, 600, 1200 and 3000 | Resin wheels |
| Separate end lap | 360 | Plated lap; a different surface from the resin progression |
| Separate polishing provision | 14,000-grit paste with canvas pad | Charged polishing surface, not another mounted resin wheel |
Why construction belongs beside the grit number
A plated wheel, a resin wheel and a compound-charged pad are different tools. A number on one does not establish the same contact behavior or scratch result as the same number on another. Keep construction in your record rather than reducing the system to six numerical labels.
CabKing supplies two plated stages followed by four resin stages. Its separate 360-grit end lap is an additional surface; it should not automatically be inserted between the numbered resin wheels as if every supplied accessory formed one mandatory ascending sequence.
Start with the surface you actually have
A prepared blank close to the intended shape is a different starting point from material needing substantial reduction. Choose a manufacturer-supported process for the stone and desired form. Do not remove extra material simply to say that every wheel in a set has been used.
For an unfamiliar material, obtain suitable instruction or manufacturer advice. Record the initial surface, the target geometry and the intended finish. Those observations create a reason for the starting stage and help identify when a different abrasive system is more appropriate.
Inspection between stages is more useful than a timer
We cannot prescribe a universal number of seconds or passes per wheel without knowing the material, shape, abrasive condition and process. A timer does not establish that earlier marks have been removed. Use an appropriate inspection method for the material and instruction you are following.
If coarse marks remain, finer stages may leave the original problem visible. Record what you see before buying additional high-grit wheels. An extra fine stage cannot be assumed to resolve a scratch left by an earlier stage or contamination.
Do not skip a stage solely because the next number is higher
A larger jump can change what the following stage has to remove, but we have no controlled experiment supporting a universal skip-or-never-skip rule across all stones and products. Start from the supplied system and the maker’s material guidance.
If adapting the progression, change it for a documented reason and retain a clear record. Avoid attributing a result to the last wheel when the material, support or earlier stages also changed. This article explains the system; it does not claim a tested optimized sequence.
Keep surface geometry in the decision
Grinding a flat back, shaping a dome and refining a broad flat face are different operations. Wheel support and compliance affect how the work is presented. A resin stage may be relevant to one surface while a rigid lap is the appropriate comparison for another.
The hard versus soft wheel guide distinguishes abrasive construction from stone hardness. Use that distinction before substituting a wheel based solely on grit. More compliance should not be assumed to preserve every sharp edge or flat surface.
Polishing compound is a separate stage choice
A canvas or felt pad charged with a suitable compound is not equivalent to a resin wheel with a similar-looking numeral. Confirm the pad, compound, carrier and intended material together. Keep polishing supplies separated from coarse abrasives so contamination does not obscure the result.
Our polishing-compound comparison covers six actual product choices and their forms. It does not declare one chemical or grit a universal final stage. The supplied paste is a documented part of a kit, not evidence that every gemstone reaches its best finish with that compound.
Replacing one wheel without losing the system
Keep the old wheel’s diameter, width, bore, construction and grit, along with the machine model and revision. A replacement with the right number can still be wrong in other dimensions. Confirm approved hardware and operating limits with the machine and abrasive maker.
The wheel compatibility article handles the dimensional checks. If replacing several stages, compare a complete compatible set with individual missing stages and avoid duplicating usable accessories.
A practical sequence record
Use columns for stone/material, intended surface, wheel construction, grit, observed surface after the stage and next action. Include the actual product name so another brand’s number is not treated as an exact substitute. Keep notes honest about what you personally observed.
For a new machine, begin with the manual and supplied kit. For a persistent finish problem, identify the earliest stage at which the unwanted mark is present rather than adding more fine products automatically. The aim is a coherent process with an inspection reason for each step, not the longest possible grit list.
Sources and verification
Sources checked October 22, 2026. Manufacturer specifications and manuals describe the equipment; our selection and planning advice is editorial analysis. We have not physically tested these products. Confirm the exact revision and current instructions before ordering or operating.
A DETAIL CHANGED?
Help keep this guide accurate.
Send the model number and a link to the current specification.